

The Ultimate Guide to Journey Builder (2025)
This guide explains the essentials of Journey Builder: from the building blocks and common use cases to advanced features, integrations, and best practices
.webp)
TL;DR
- Journey Builder is SFMC’s drag-and-drop tool for building personalized, cross-channel campaigns.
- Start simple: map on paper, define entry rules, test carefully, then activate.
- Advanced features like decision splits, personalization, and versioning add power but require discipline.
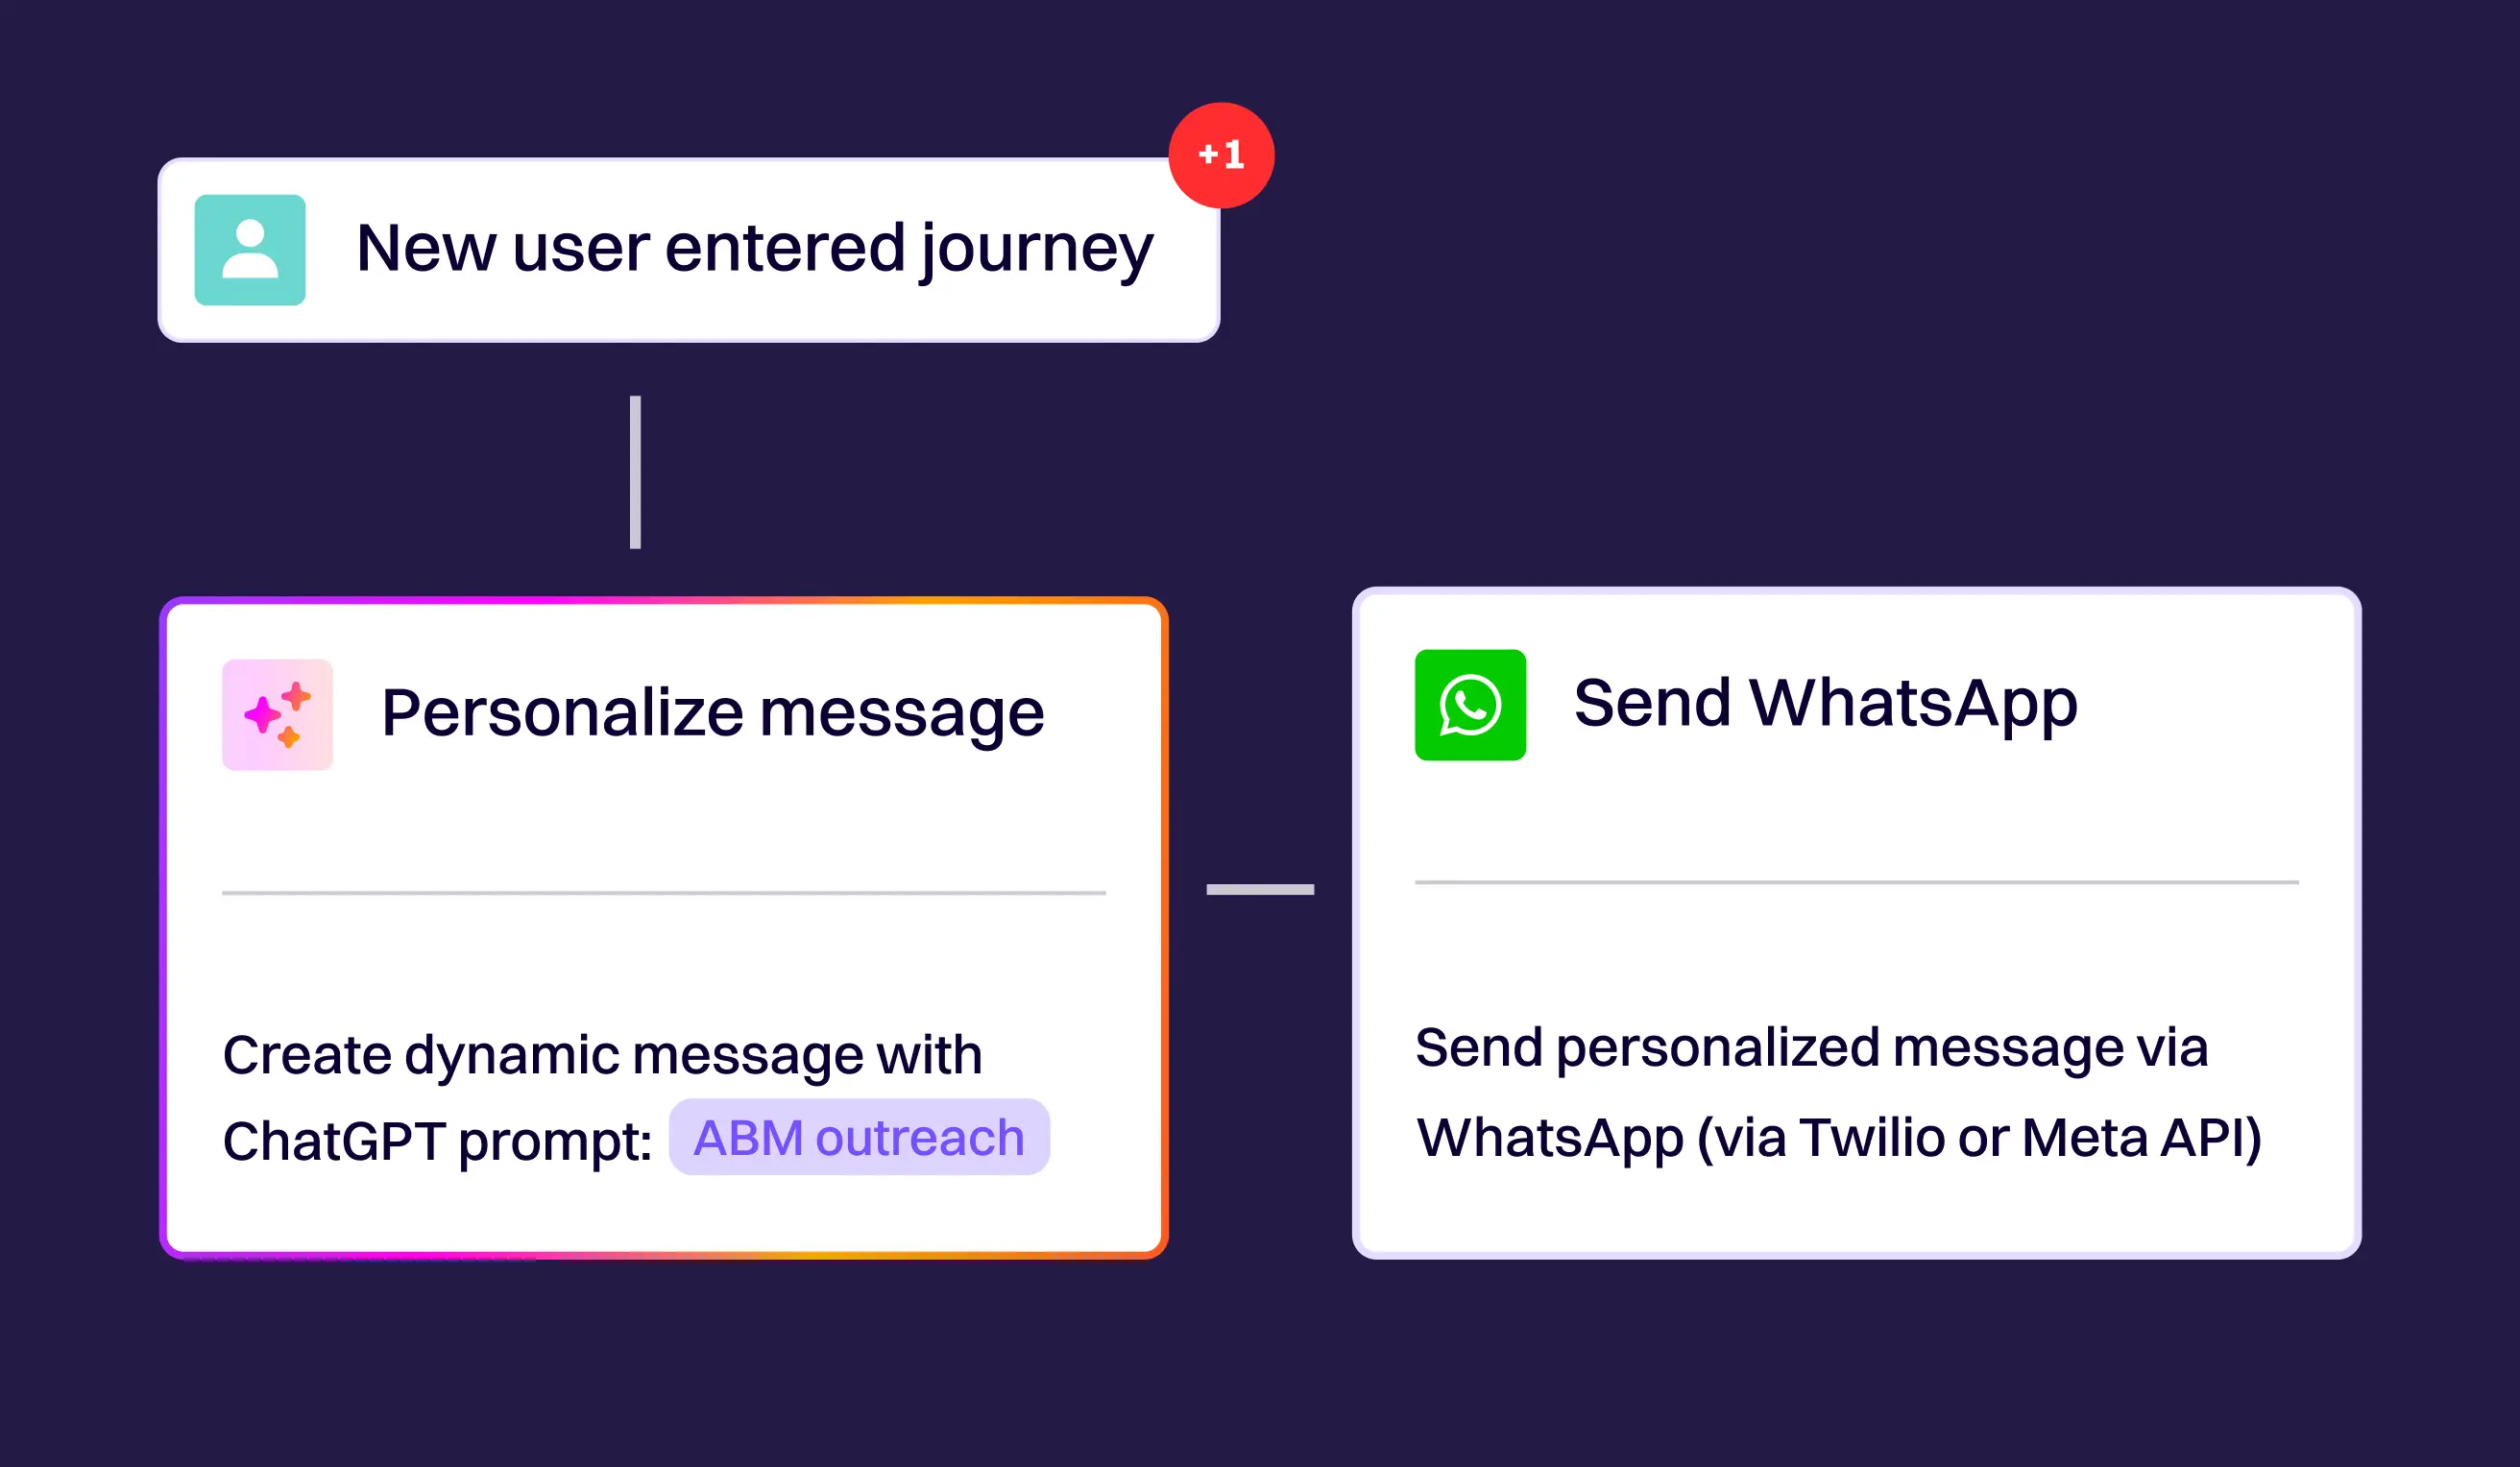
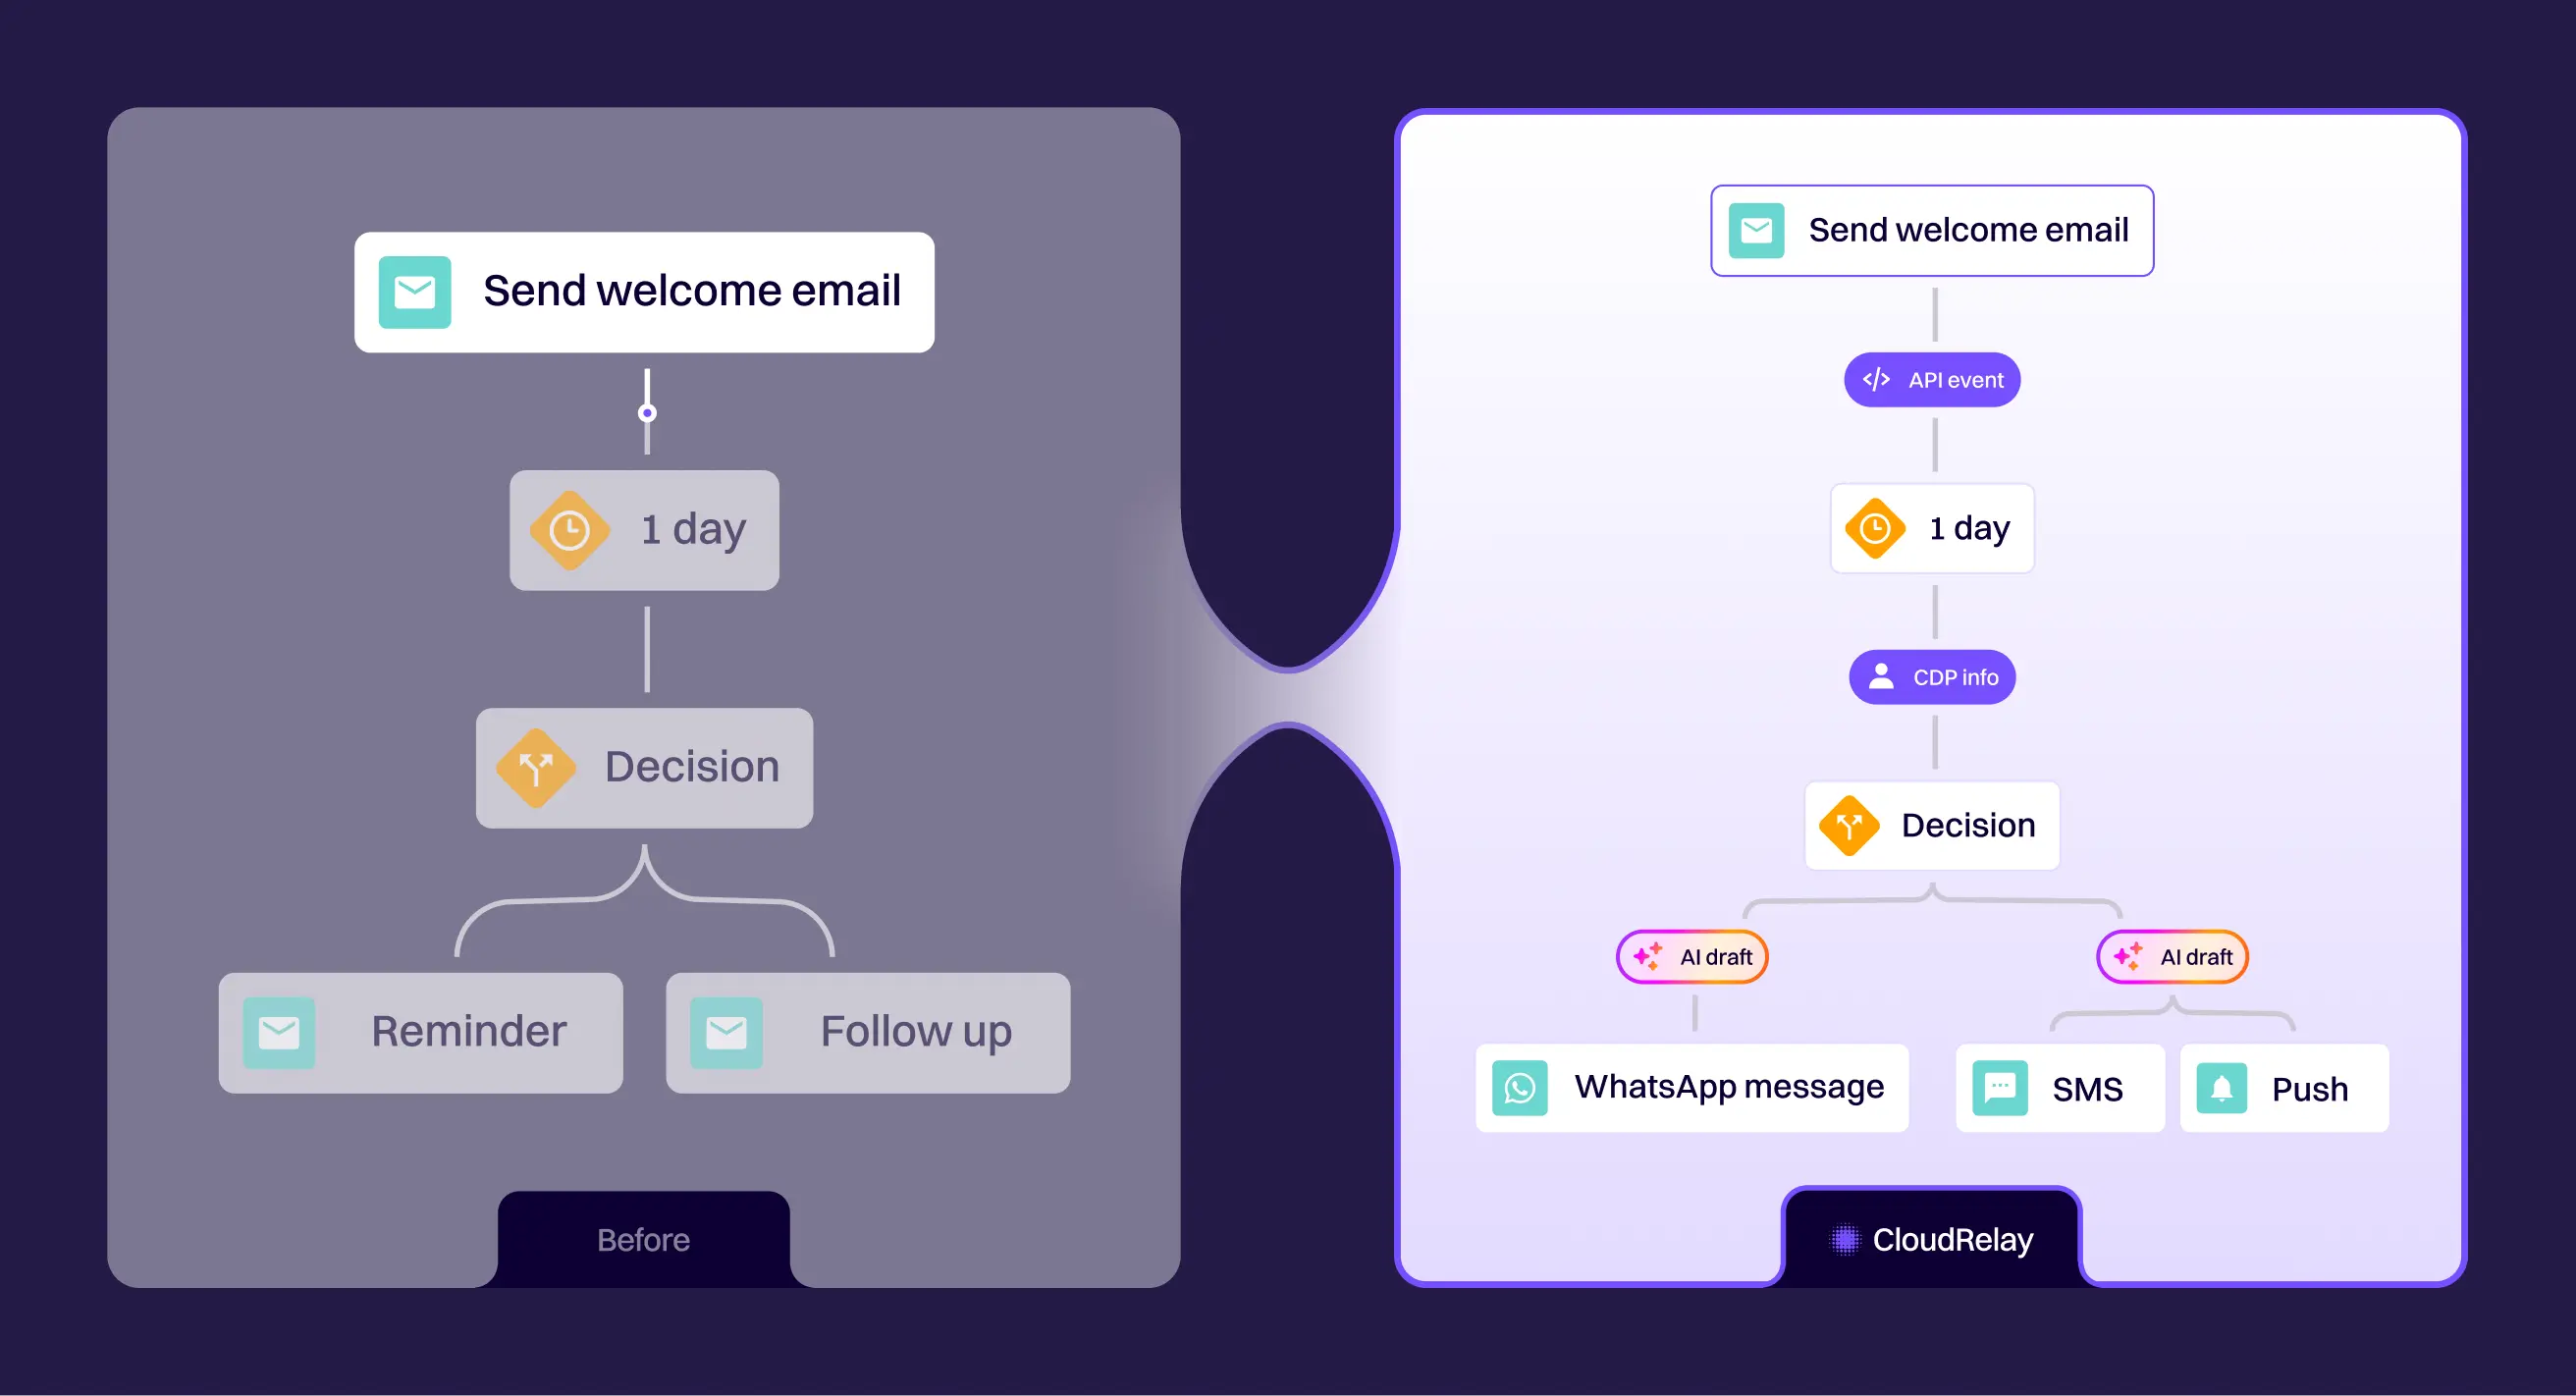
- CloudRelay extends Journey Builder with modern channels and AI-driven decisioning.
Customer journeys rarely follow a straight line. People sign up, browse, abandon carts, make purchases, and sometimes go quiet. Journey Builder is the tool in Salesforce Marketing Cloud that helps marketers respond to these moments with timely, relevant communication.
This guide explains the essentials of Journey Builder: from the building blocks and common use cases to advanced features, integrations, and best practices. It’s designed to help teams launch faster, avoid common mistakes, and get more value from SFMC.
Key building blocks of a Journey
Journey Builder relies on a handful of building blocks that marketers can mix and match to create different customer experiences. These components give you control over how people enter a journey, what happens to them while they’re in it, and when they leave. Used together, they provide the flexibility to design anything from simple campaigns to highly personalized flows.
Entry sources
Every journey starts with an entry source. This is the trigger that determines when a customer enters. Options include:
- A data extension inside Marketing Cloud
- A record change in Salesforce, such as a new lead
- An API call, often from a website form or external app
- A file drop on an FTP server
Choosing the right entry source depends on how quickly you want customers to be added. For example, APIs provide near-instant entry, while file drops work better for batch-driven journeys.
Activities
Activities define what happens once someone is inside a journey. They can include:
- Sending an email, SMS, or WhatsApp message
- Waiting a set period of time
- Decision splits based on attributes or external data
- Updating Salesforce with new data
- Passing a contact to another journey
Because activities are placed on a canvas with drag-and-drop, they make journey design accessible even to non-technical marketers. At the same time, they offer enough depth for advanced teams to build complex workflows.
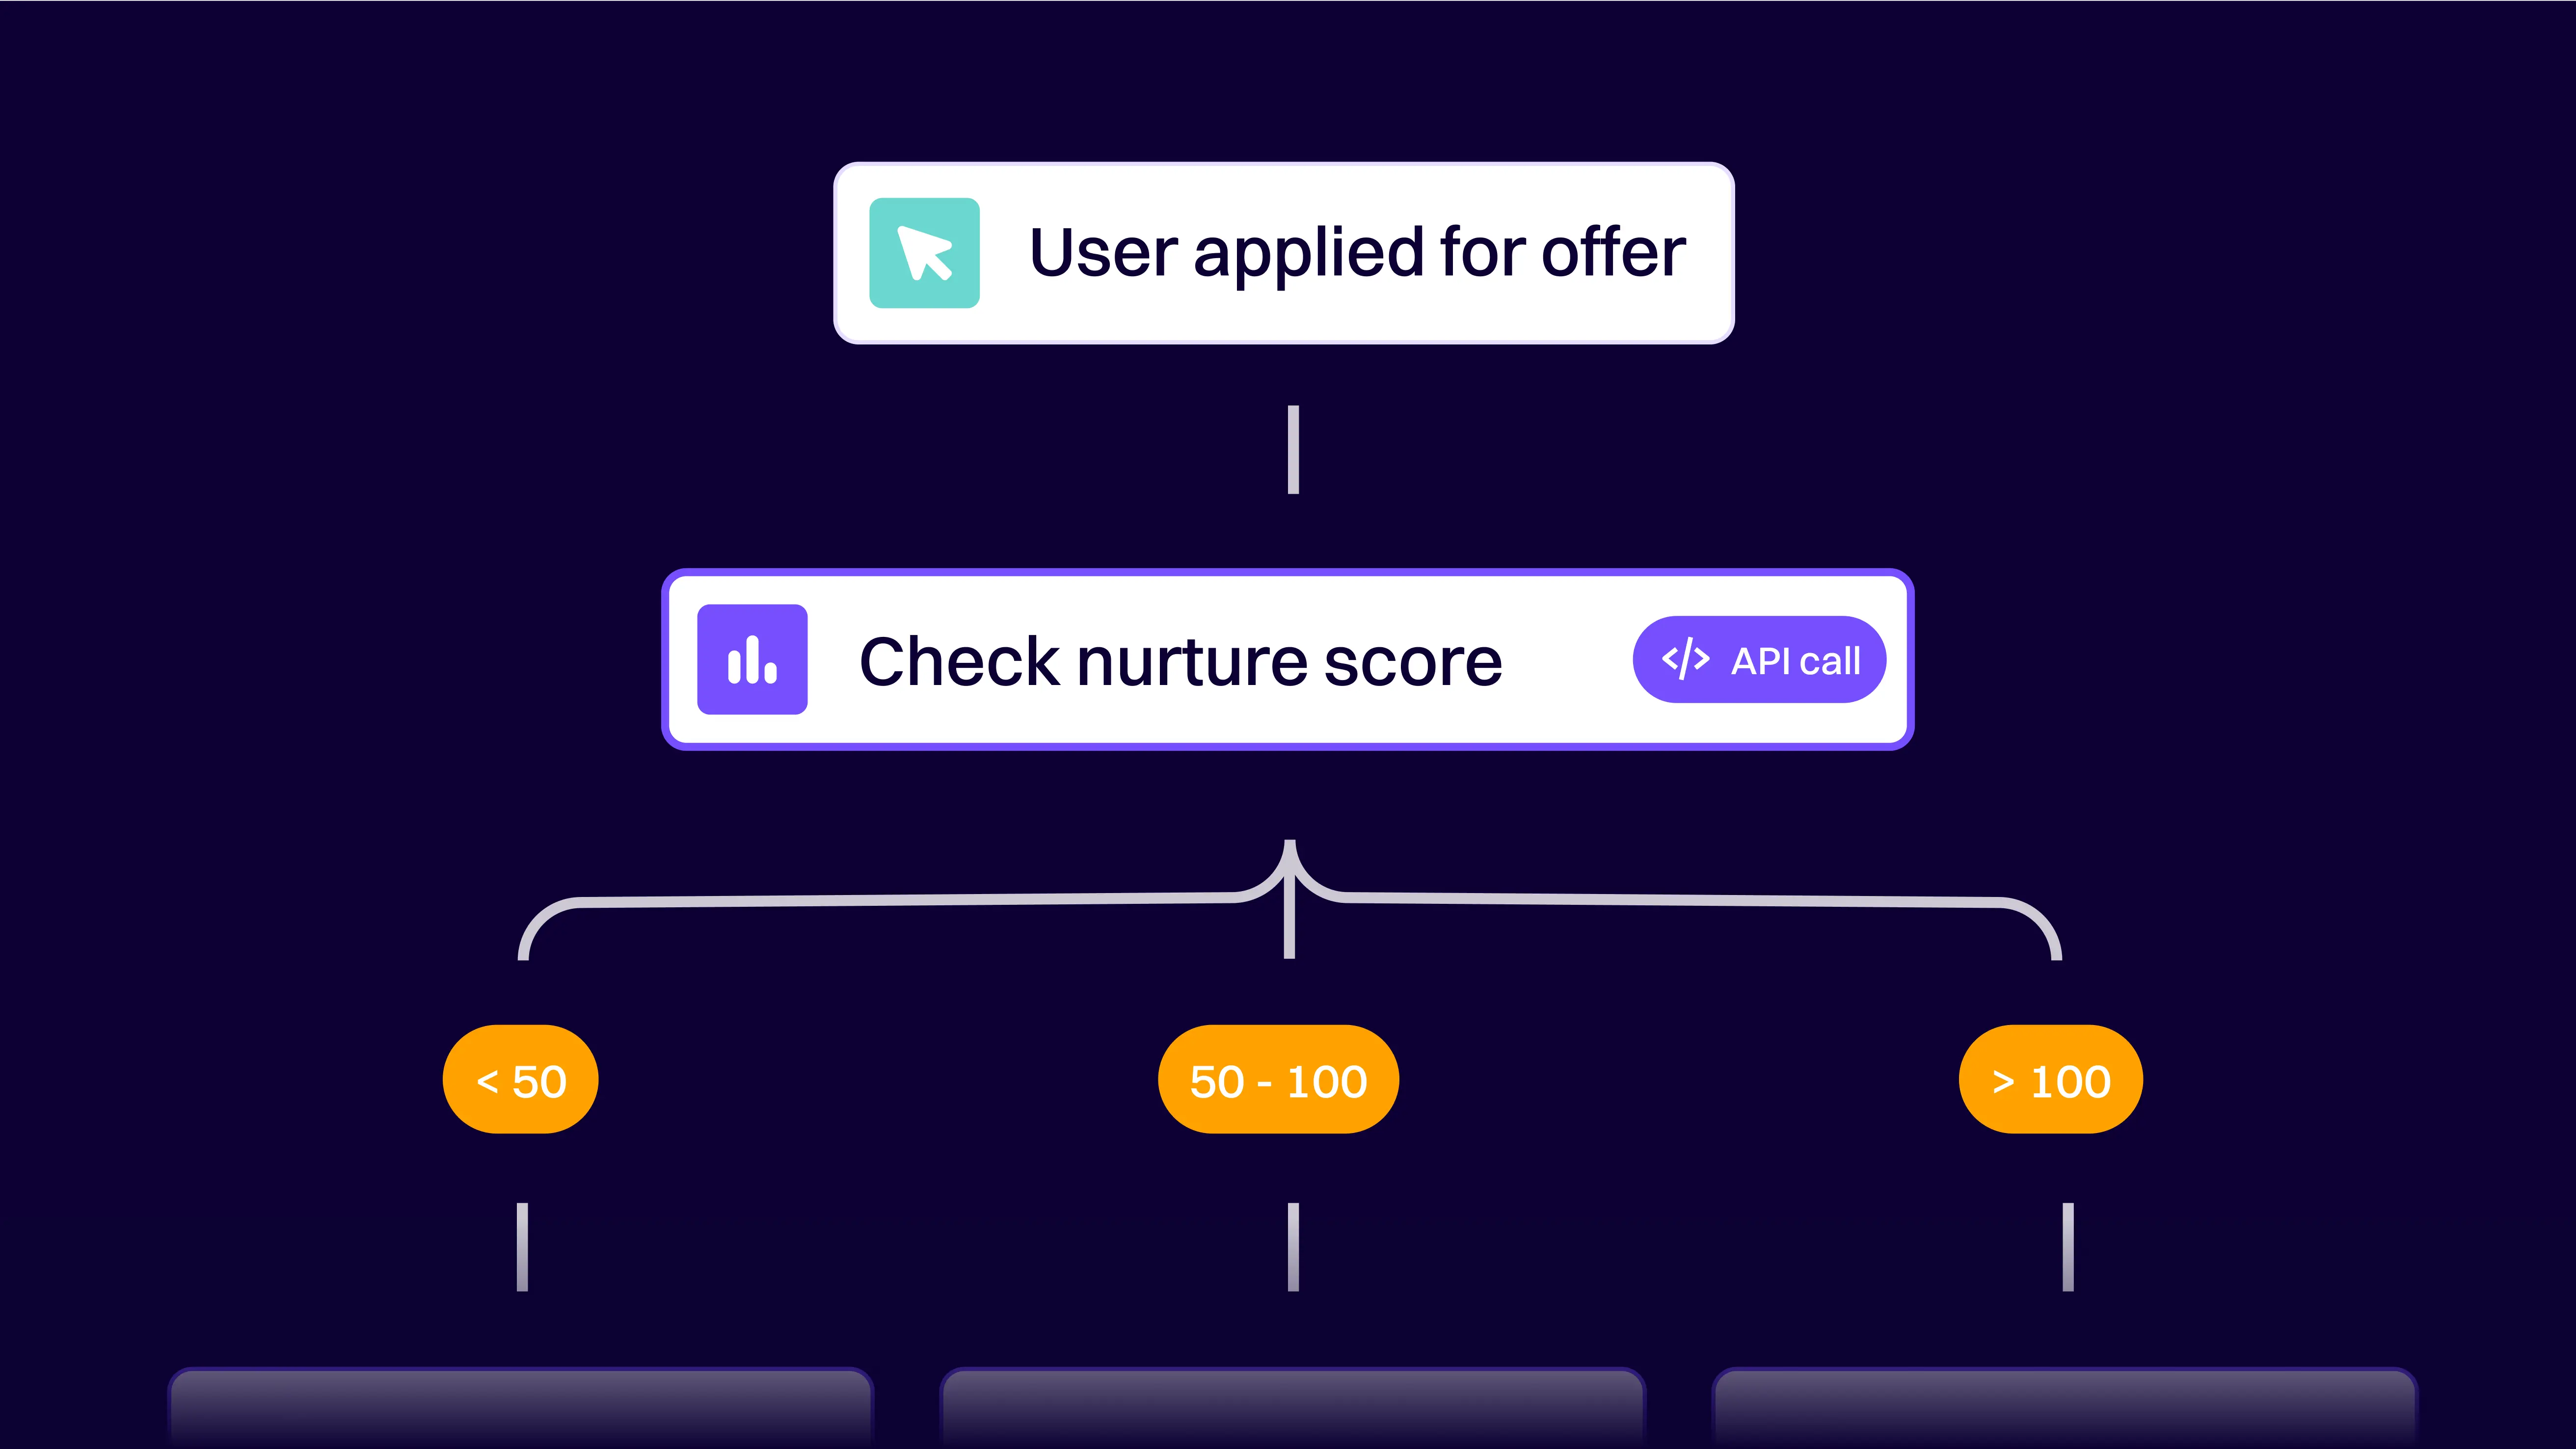
Decision splits
Decision splits make journeys dynamic by branching customers into different paths based on their data or behavior. You might create one path for high-value customers and another for everyone else.
Or you could send a different follow-up depending on whether someone opened an email or ignored it. This is how personalization starts to take shape inside a journey.
Exits
Finally, journeys also need exits. These are the conditions that determine when a customer leaves. They may exit because they’ve completed the desired action, like making a purchase, or because they no longer qualify to continue.
Without clear exit criteria, journeys can become messy and customers may end up receiving communications that don’t make sense for them.
“Journey Builder lets you pick an entry source, then add activities like emails, SMS, or decision splits. It’s drag-and-drop, so you can sketch the flow of a customer’s experience without needing code.” - Justin Stavasius, Owner of CloudRelay
How data flows through a Journey
One of Journey Builder’s strengths is how it handles data from start to finish. A journey isn’t just a sequence of emails and waits. It’s a data-driven workflow that constantly evaluates who should be in the journey, what should happen next, and when a customer should exit.
Entry and re-entry
The process begins with the entry source. Once a contact enters, Journey Builder immediately applies the rules you’ve defined. These rules may include:
- Whether the contact can re-enter the journey after finishing it
- Whether they must wait until they’ve fully exited before being added again
- Conditions they must meet to qualify for entry in the first place
These settings determine how strict or flexible your journey is in controlling customer participation.
Movement through activities
As contacts progress, each activity interacts with data. For example:
- A wait activity delays the next step until a certain time
- A decision split checks attributes or behaviors to choose the right branch
- A messaging activity pulls in personalization attributes from data extensions
This continuous evaluation allows marketers to adapt journeys in real time based on customer behavior or changes in Salesforce data.
“From the entry source that we’ve previously mentioned, you can also configure what the exit should be. If someone goes through a specific decision split and you want to exit them through a journey, you can do that. You can also state what entry criteria there should be… There’s a lot of flexibility in the criteria as to how you want to do it.” - Justin Stavasius
Exits
Every journey should define clear exit conditions. Customers might leave because they completed a purchase, reached the end of the flow, or no longer match the criteria to continue. Exits keep journeys tidy and ensure people don’t receive irrelevant or redundant communications.
Basic Journey setup
Even though Journey Builder can handle complex customer journeys, it’s best to start with a simple structure. A basic setup helps new users understand the building blocks and see how data moves from entry to exit before adding more layers of personalization or branching logic.
A straightforward first journey often looks something like this:
- Trigger: A customer fills out a form on your website, which sends data to Marketing Cloud via an API.
- Acknowledgement: The customer receives an immediate responder email confirming the request, setting expectations for when they’ll hear back.
- Data Handoff: The same data is pushed into Salesforce, so sales teams know to follow up.
- Exit: Once the handoff is complete, the customer exits the journey and sales takes over.
This setup may sound simple, but it reflects how Journey Builder is meant to work:
As the connector between initial customer activity and the broader Salesforce ecosystem. It ensures that marketing automation doesn’t stop at a single email but ties into sales processes and future communications.
When building your first journey, it’s useful to remember that you don’t need every activity ready before you begin.
You can sketch the structure on the canvas with placeholders, then configure messages once they’re finalized. This makes it easier to plan campaigns without being blocked by copywriting or design tasks.
Some common use cases for Journey Builder
Marketers often turn to Journey Builder for a familiar set of scenarios that deliver strong results. These use cases span the entire customer lifecycle and show how the tool adapts to both simple and complex needs. Typical categories include:
- Welcoming and onboarding new customers
- Lead nurture campaigns
- Recovering lost sales opportunities
- Strengthening relationships after purchase
- Personalizing around milestones or retention triggers
Welcome journeys
Onboarding flows are one of the most common starting points. Instead of sending a single message, Journey Builder allows brands to design a series of communications spread out over days or weeks. These sequences can adapt to behavior, advancing contacts who engage quickly so they don’t receive unnecessary follow-ups.
Lead nurture campaigns
When prospects aren’t ready to buy, nurture journeys help keep them engaged. Instead of sending one-off emails, Journey Builder makes it easy to deliver a series of educational or trust-building messages.
These flows can adapt based on signals like email engagement or website activity, moving sales-ready leads forward while keeping others on an informative track until they’re ready to convert.
Abandoned cart flows
For e-commerce, abandoned cart journeys are especially effective. When a customer begins an order but doesn’t complete it, Salesforce data can trigger Journey Builder to step in. A reminder (often sent 24 to 48 hours later by email or SMS) helps recover potential revenue and keeps the buying process top of mind.
Post-purchase communication
The journey doesn’t end with the transaction. Brands often use Journey Builder to send thank-you notes, gather feedback, or invite customers into a loyalty program. Because the tool captures responses directly in Marketing Cloud, these signals can be used to tailor future campaigns automatically.
Birthday and reactivation flows
Milestone-based and re-engagement campaigns are another strong fit. Personalized birthday offers or proactive reminders before a contract expires help keep relationships active. Journey Builder makes these flows easy to automate while still giving customers a sense of personal attention.
When you look across these examples, the common theme is flexibility. Journey Builder supports lifecycle campaigns that are predictable and repeatable, but it also adjusts to real-time data when needed.
This combination of automation and responsiveness is what makes it so widely used across industries.
First Journey: step‑by‑step guide
Starting simple helps you learn how Journey Builder thinks about data and flow control. The goal is to design a clean, testable path from entry to exit, then add sophistication only where it clearly improves the outcome.
“First thing first, don’t just head nose-dive into building a journey. Always start with your prep: build out your flow on paper.” - Justin Stavasius
To get started with your first Salesforce Marketing Cloud Journey,, you should follow these steps:
- Prep on paper
- Choose entry and re-entry rules
- Rough-in the canvas
- Build the assets
- Configure activities and data handoffs
- Validate and test
- Activate and monitor
These steps below reflect our recommended approach and are a solid baseline for new teams getting started with Journey Builder.
1. Prep on paper
Sketch the journey before touching the canvas. Define the trigger, the messages, and any decision points. Decide where data needs to land in Salesforce so you’re clear about which system owns which responsibility.
2. Choose entry and re-entry rules
Pick the entry source that fits your use case and set clear re-entry behavior. For example, only allow a contact to re-enter once they’ve fully exited. This avoids accidental over-messaging during testing or live runs.
3. Rough-in the canvas
Drag activities onto the canvas as placeholders, even if copy or design isn’t final. This creates a shared visual that helps align teams early in the process.
4. Build the assets
Draft the emails, SMS messages, or landing pages. Use test data to confirm personalization attributes are available so the journey validates successfully.
5. Configure activities and data handoffs
Set up the autoresponder, add waits where needed, and push critical fields into Salesforce. Document these mappings carefully so others can maintain or extend the journey later.
6. Validate and test
Run Journey Builder’s validation, then walk through with test contacts. Testing can get tricky when APIs or environment variables are involved. Some teams work around this by creating bypass paths for test contacts. Others rely on tools like CloudRelay to simplify integrations, reduce errors, and accelerate QA cycles.
“The problem you’ll run into when testing is that often, the dev environments don’t have the same configuration as prod, so you can’t always get the same responses when using APIs or entry sources. Some people work around it by setting up bypass paths for test contacts. But it gets messy. That’s one of the reasons we built CloudRelay: to make those integrations easier to test and deploy, without having to hack together workarounds.” - Justin Stavasius
7. Activate and monitor
Start with a small audience and observe both performance metrics and operational signals. Confirm exits are working so contacts don’t loop or linger.
Common mistakes to avoid when building your first Journey
Even simple journeys can go wrong if the basics are overlooked. The most frequent pitfalls include:
- Building journeys that are too large or complex to manage effectively
- Using email addresses instead of stable IDs like Salesforce Contact or Lead ID
- Skipping documentation for exits, decision logic, and field names
- Letting naming conventions drift, making assets hard to locate later
Avoiding these mistakes not only prevents errors but also makes your journeys easier to scale and maintain as your marketing programs grow.
Advanced SFMC Journey Builder features + pro-tips
After you’ve built a few simple flows, the real power of Journey Builder comes from its advanced features. These tools allow you to scale personalization, control timing, and keep journeys running smoothly at larger volumes.
At a high level, the most important areas include:
- Decision splits and wait activities
- Personalization with data extensions and attributes
- Managing complexity and avoiding performance pitfalls
- Versioning and re-entry settings
Let’s outline what we mean when talking about these advanced features.
Decision splits and wait activities
Decision splits add intelligence by branching paths based on attributes or behavior. For example, a customer who engages with an email might receive a different follow-up than someone who ignores it.
Wait activities complement this by pacing the journey, ensuring messages land at meaningful intervals. Together, they make journeys feel responsive and natural.
Personalization at scale
Personalization in Journey Builder isn’t limited to first names. Attributes from Salesforce or external CRMs can determine which branch a contact enters, which messages they see, and even how long they wait before the next step.
This makes journeys far more relevant, but it requires clean data planning upfront to avoid errors and inconsistencies.
Performance pitfalls
One common mistake is building journeys that are too large. Expansive canvases make testing harder and often hide logic that should live in smaller, linked flows. Keeping journeys modular not only reduces errors but also speeds up campaign launches.
In practice, it’s faster to maintain three well-scoped journeys than one sprawling canvas.
Versioning and re-entry settings
Finally, advanced users need to manage control settings. Versioning allows you to test new variations without disrupting existing contacts, while re-entry rules prevent people from being over-messaged.
Establishing clear conventions for when to create a new version versus editing an active one keeps your team aligned and avoids confusion.
Pro tips to keep in mind
These advanced tools can be powerful, but they only add value when applied with discipline. The following practices will help ensure that complexity works for you, not against you:
- Treat decision splits like decision gates: each one should have a business purpose.
- Document personalization attributes so everyone knows what drives content and logic.
- Break giant canvases into modular journeys for faster builds and easier QA.
- Set re-entry rules deliberately to avoid flooding contacts with repeat messages.
- Use versioning as your “safety net” when testing or optimizing.
Taken together, these tips shift Journey Builder from a tactical tool into a strategic engine for customer engagement. Teams that master them gain the ability to launch faster, optimize confidently, and scale without drowning in operational complexity.
“You can go overboard with journey complexity. The canvas lets you do a lot, but that doesn’t mean you should. Keep things simple, modular, and easier to maintain.” - Justin Stavasius
Integration with other Salesforce products
Journey Builder delivers the most value when it’s connected to other tools. Its role is to orchestrate experiences, which means it depends on inputs from data sources and outputs through messaging channels. Knowing how it interacts with Salesforce’s core products and external systems helps marketers design smarter journeys.
Email Studio
Email Studio houses the content that Journey Builder delivers. Marketers create templates and campaigns in Email Studio, then reference them inside journey activities. This separation ensures consistency in branding and makes it easier to reuse content across different campaigns.
Automation Studio
Automation Studio complements Journey Builder by handling backend data preparation. It can refresh data extensions, import lists, or run SQL queries that shape who enters a journey. Without clean and reliable data pipelines, journeys risk triggering at the wrong time or for the wrong audience.
External data and CRMs
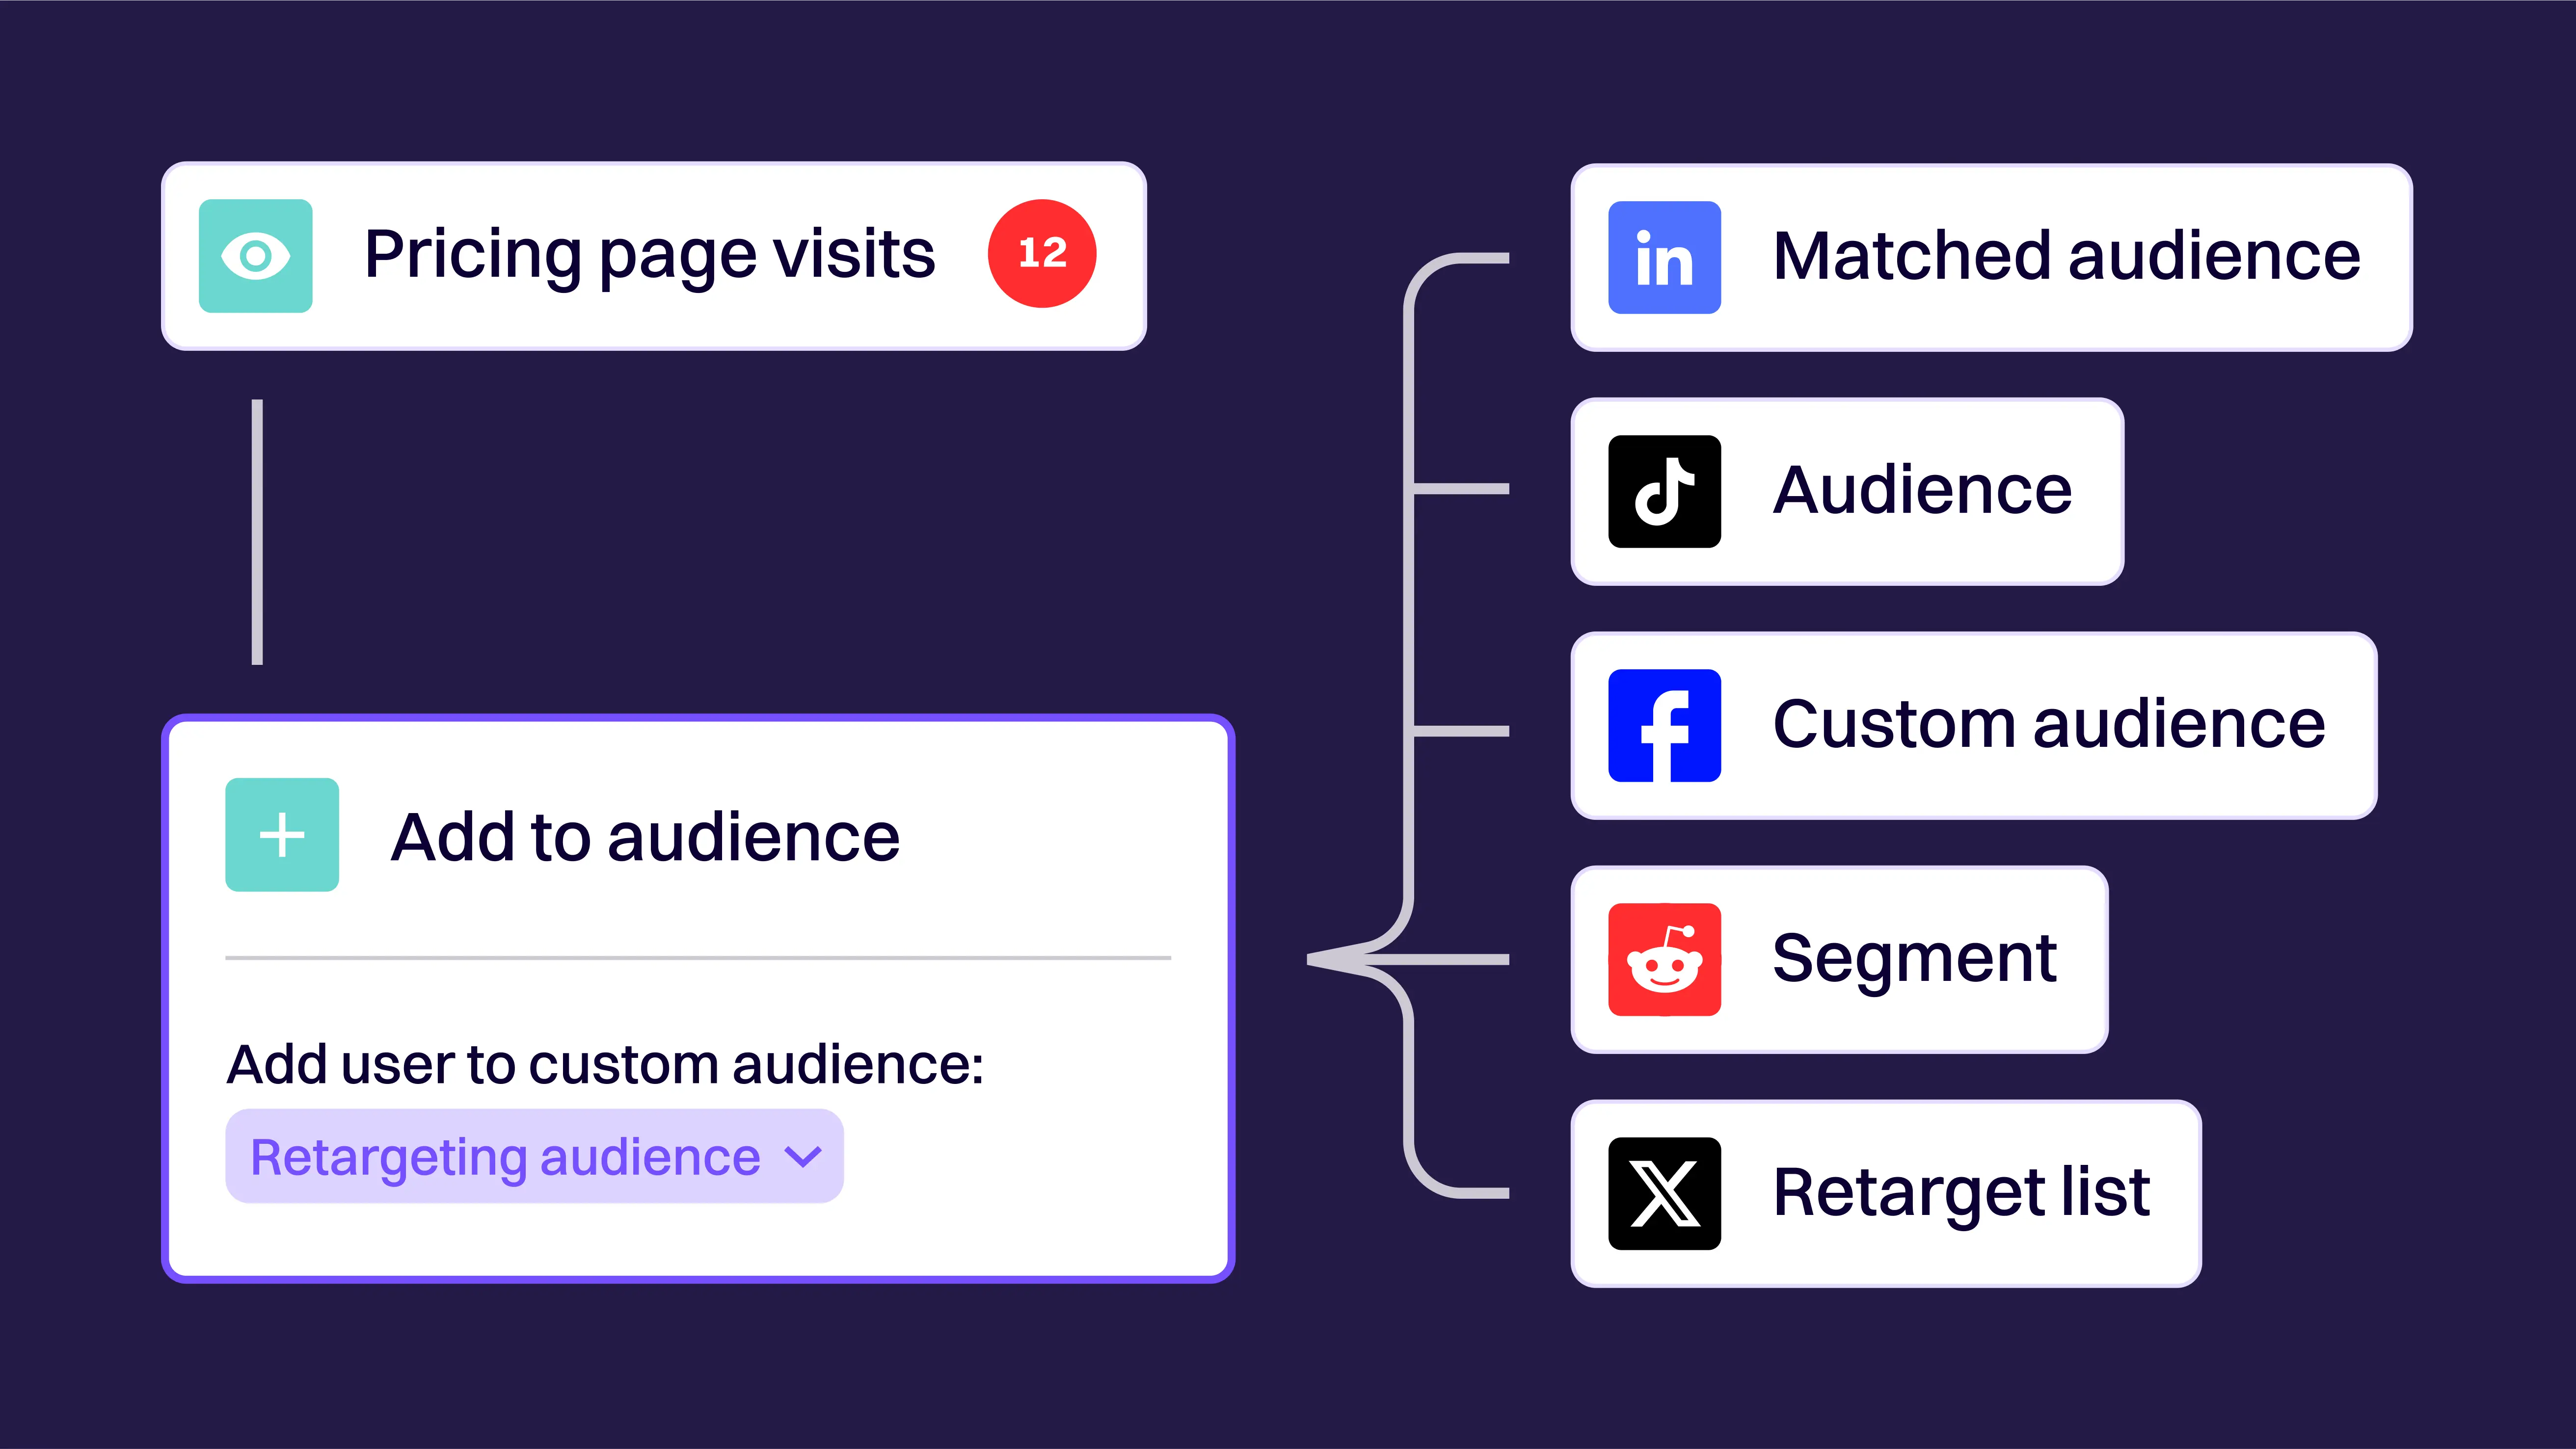
Journeys become more powerful when enriched with external data. Common integrations include:
- Salesforce Sales Cloud events, such as new opportunities or leads
- API calls from apps or websites to trigger real-time entry
- Imported customer files for batch-driven communications
These connections ensure that journeys run on fresh, accurate information and that updates flow back into the systems teams already use.
When to use CloudRelay
Out-of-the-box integrations cover many needs, but they can be limiting. Channels like WhatsApp, video, or AI-driven decisioning often require custom development. CloudRelay removes that barrier by adding new activities directly into Journey Builder.
This allows marketers to connect modern tools without waiting for engineering support, reducing setup time and giving teams more freedom to experiment.
Comparison to Journey Builder alternatives
Journey Builder is one of Salesforce Marketing Cloud’s strongest assets, but it isn’t the only orchestration tool available. Marketers often compare it against other platforms when evaluating their options or deciding whether SFMC is the right fit.
SFMC Journey Builder vs. alternatives
Different tools aim for different audiences. HubSpot, for example, is simpler to use and well-suited to smaller teams who want fast setup without much technical complexity.
Adobe Campaign sits at the other end of the spectrum: powerful but resource-intensive, often requiring significant IT involvement. Journey Builder sits in between these extremes, offering both depth and accessibility.
A quick comparison at a glance looks something like this:
- HubSpot: Easy to use, limited depth, best for smaller teams.
- Adobe Campaign: Powerful, complex, often requires heavy technical support.
- Salesforce Journey Builder: Strong balance of usability and flexibility, designed to scale with business growth.
When Journey Builder may not be needed
Not every company requires Journey Builder. For organizations running very basic campaigns (such as a monthly newsletter or one-off email blasts) the tool may be more than they need. In those cases, Email Studio or another lightweight marketing automation tool can often cover the requirements.
The real strength of Journey Builder shows when organizations want to coordinate across channels, integrate with Salesforce data, and adapt to customer behavior in real time. For teams at that stage, it’s difficult to find a better fit.
AI agents creating SFMC Journeys: pros and cons
Lastly, we wouldn’t be doing our jobs properly writing this ultimate guide if we didn’t mention the possible consequences of AI agents creating journeys in Salesforce Marketing Cloud.
AI agents add both promise and pressure for current Journey Builder users. On one hand, AI can automate repetitive setup tasks, recommend next-best actions, and even generate personalized content variations at scale. Which speeds up campaign creation and helps teams move from static flows to highly adaptive journeys.
On the other hand, letting AI design or run journeys introduces a bunch of new risks. Over-personalization can make messaging feel inconsistent with brand tone. AI-driven decisioning may also create overly complex paths that are difficult for humans to monitor or troubleshoot. And without strong governance, compliance and data privacy issues can easily be overlooked.
Pros
- Faster setup of journeys through AI-generated templates and flows
- Smarter decisioning with predictive next-best actions
- Scalable personalization across multiple channels
Cons
- Risk of over-complex or “black box” logic that’s hard to monitor
- Potential inconsistencies with brand voice and messaging
- Added governance needs around compliance and data privacy
The sweet spot is using AI as a co-pilot, not a replacement. Let it handle data-driven recommendations, testing scenarios, and optimization, while marketers remain accountable for strategy, guardrails, and customer experience.
Teams that strike this balance gain efficiency and scalability without losing the human judgment that keeps journeys clear, consistent, and customer-centric.
Let’s finish up this Ultimate Guide to SFMC Journey Builder with some FAQs we are often asked.
Some frequently asked questions about SFMC Journey Builder
These are some of the most common questions people ask us about Journey Builder. Clear answers will help you better understand how the tool works and when to use it.
What is the difference between Journey Builder and Automation Studio in Salesforce Marketing Cloud?
Journey Builder is designed for customer-facing journeys. It focuses on orchestrating messages across email, SMS, and other channels based on customer behavior and attributes.
Automation Studio, on the other hand, is used for backend data workflows such as refreshing data extensions, importing files, and running SQL queries. The two tools complement each other: Automation Studio prepares the data, Journey Builder acts on it.
What is an entry event in Salesforce Journey Builder?
An entry event is the trigger that adds a contact into a journey. Common entry events include a record change in Salesforce (such as a new lead), a file import, an API call from a form, or the addition of a contact to a data extension. Entry events determine who enters a journey and when.
Can you send multiple emails in Journey Builder?
Yes. A journey can include as many email activities as needed. Each message can be timed with waits, personalized with data, and adjusted with decision splits so that customers receive the right content at the right stage.
Is Journey Builder part of Salesforce CRM or a separate product?
Journey Builder is a core feature of Salesforce Marketing Cloud, which is separate from Salesforce CRM. While the two systems integrate closely (for example, CRM data can be used as triggers or decision criteria) Journey Builder itself lives inside the Marketing Cloud platform.
How much technical knowledge do you need to use Salesforce Journey Builder?
Basic journeys can be built by marketers without technical training thanks to the drag-and-drop interface. However, more advanced use cases often require some knowledge of data extensions, attributes, and personalization scripting.
Teams that want to extend Journey Builder beyond the out-of-the-box features can benefit from technical support or add-ons like CloudRelay to simplify integrations.
Our final notes and closing thoughts
Journey Builder remains one of the most powerful tools inside Salesforce Marketing Cloud. It gives marketers control over how customers experience communication, while also connecting tightly to Salesforce data and other channels. When used well, it becomes the central hub for orchestrating personalized, cross-channel journeys.
One common misconception is that teams are limited to the activities Salesforce provides out of the box. That’s not the case.
With custom activities and extensions like CloudRelay, Journey Builder can be expanded far beyond its defaults. This means marketers don’t need to wait on engineering teams to add modern channels or advanced decisioning.
Looking ahead, the biggest challenge may not be capability but complexity. As more AI-driven tools and new messaging channels are added, there’s a risk of journeys becoming cluttered and difficult to manage. The real advantage will belong to teams who can keep their flows simple, modular, and easy to optimize.
The takeaway is clear:
Journey Builder isn’t just a campaign tool. It’s the framework for real-time, data-driven customer engagement inside Salesforce Marketing Cloud. The marketers who master it will move faster, personalize deeper, and stay ahead of competitors who are still stuck with static campaigns.